Tuesday, May 10, 2016

Four hands are better than two.

I was fortunate to have a friend help me out recently. Lifting the rear end by myself was getting old! We accomplished a lot.. Installing the rear end, shocks, leaf springs, calipers and pads, removing old brake lines, mounting parking brake assembly to the differential. When we were done, it looked like a complete car again.

I have been detailing parts as i go. I changed the color of the transmission and shifter, color filled the "HURST" on the shifter, and touched up the fan, and went back to color matching the calipers.


One thing i am really excited to do is upgrade to power brakes.


Friday, April 1, 2016

Brakes don’t stop me now!!

I am now making progress on the brake system. I ordered a complete set of stainless brake lines and a master cylinder. I originally thought the motor would not produce enough vacuum to support power brakes, but now I find out it will.  I can always get the booster later.
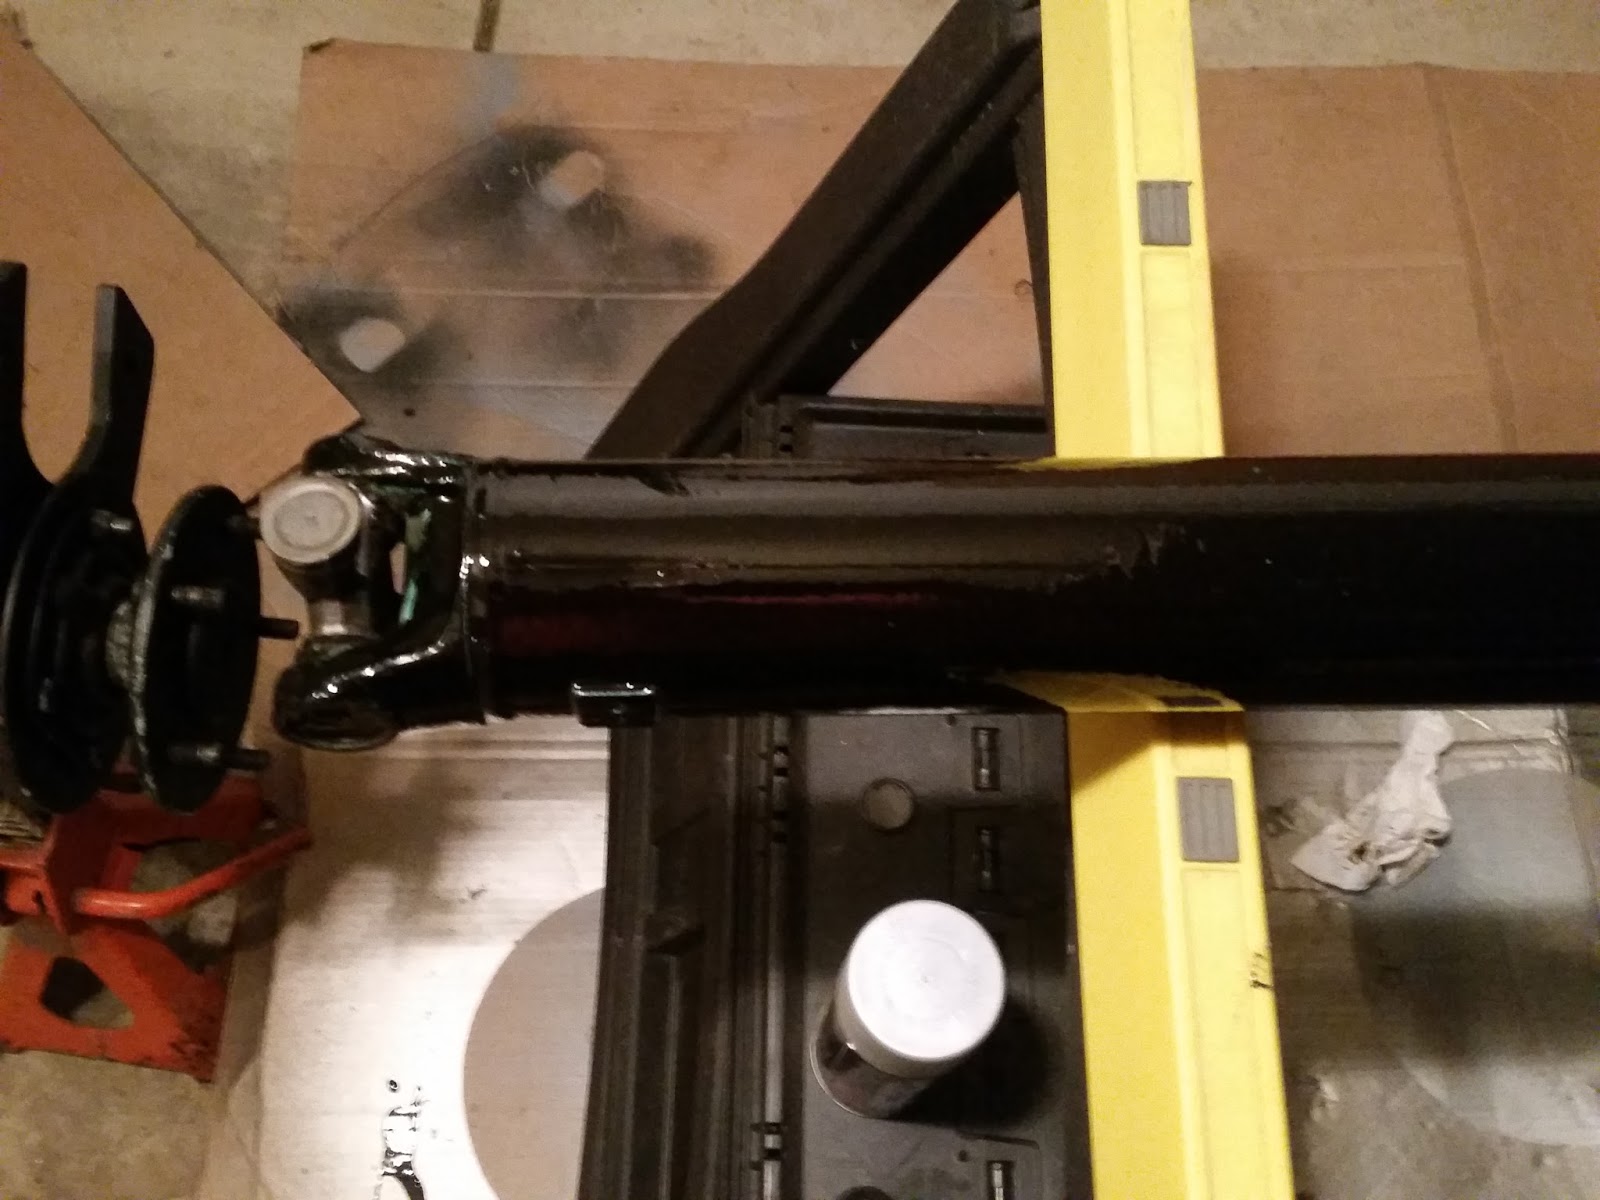
I purposely kept the rear end out of the car so installing the rear brake lines along the axle would be easier.  It wasn’t as easy as I thought. The lines are pre bent for a disc brake conversion, but they didn’t seems to fit as well as I would like. The assembly manual shows how to run the lines for factory drum brakes so I had to take some creative control.  After many attempts to fit them, I realized I needed to modify the bends.  With a little coaxing, I got them in a shape that fit well, but not perfect.  I also bought two kits from CCP which had band clamps and clips to mount the rubber lines to the axle as well at the T-fitting. I did have to shave the mounting hardware, where the hard line meets the rubber line; it was too thick to allow the clip to be installed. A few passes with the grinder and that was taken care of. I think it came out well; I may need to adjust them once the rear end is back in the 55 to make sure nothing hits.

I am hoping that the front lines to both front wheels and the rear line that runs outside the frame to the axle go it easier. Those runs were not modified, so all the factory attachment points should work with the factory bends on the new lines.


Rear end version 2.0

In a previous post, I detailed the rear end, using KBS to coat the carrier and axle housing. I liked it but I felt it was too glossy; I was after a flat black appearance. I did some more research and landed on a 2K paint system from the Eastwood Company. This product has a cylinder inside the paint can that contains the activator, so it essentially acts as a 2 part paint sprayed from a spay gun, but in an aerosol can.  The can has a red button that you take off and place on the underside of the can, you press down and it breakers the inner cartridge that hold the activator. The only down side it that it has a shelf life of 48 hours once the cartridge is punctured. You also have to shake the can and clear the nozzle between coats.  I choose their “under hood black” it has a nice low gloss / dull finish.  I think it came out well.


I also detailed all the rear end hardware and sway bar hardware. 


Monday, March 21, 2016

Mock up

The rear end needed to be mocked up so I could check fit of the longer sway bar end links.I also needed to see if the sway bar mounts would affect running the brake lines along the axle housing.  when the lines were run during the first restoration they were run along the drivers side frame rail and down to the brakes.  After getting things in place, everything looks good to run the rear lines along the axles housing.


SWAY BAR MOUNTED

LONGER END LINKS WORKING OUT


I also took the opportunity to get the brakes put back together, big difference

BEFORE


AFTER


Classic Performance Parts (CCP) has some real trick band clamp clips to secure the hard line to the flex hose connections for the rear calipers.  I will use the below to connect the axle lines to the calipers and another set to connect the rear line to the T connector, since the sway bar runs behind the factory T clip attached to the axle.


Wednesday, March 9, 2016

Drive Shaft

Continuing with the detailing process, i tackled the drive shaft. Being selective with the colors i change, will really bring out the character of the car. 


The material i have on now is a rust barrier, i am waiting on the KBS Black Top to arrive today. It acts as a cover, curing to a rock hard yet flexible finish.  I decided to go OEM satin black, as it would have been from the factory, so the gloss black parts will have that cool satin black look. 

I recommend this product to anyone who wants to create an impenetrable finish on parts.  This product covers well, a little goes a long way.  Since i will have left over material, i plan to coat the inside of mower decks to my push and riding lawnmower.